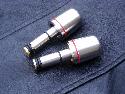
(1) MV Agusta F4 Throttlemeister™ Kit exclusively from Pirates' Lair ($150)
(1) Hex wrench/key set
(1) Dremel tool or sandpaper block
(1) 1 beer (Imported only)
(1) Bottle Loctite (blue grade)
|
MV Throttlemeister™
Install How-To
|
| I'm not as young as I used to be. Pain hurts these days. The Italians, as we all know ALWAYS choose beauty over ergos.. and endearing trait, but rather than just sheepishly go along with their Euro design ethics, I choose to make my bikes more user friendly.. even the brutally focused MV F4... First thing I chose to do after buying my 03 F4 was commission someone to produce a throttle lock for the times when I'm not on a track or in the twisties... Who better to turn to than the world renowned Throttlemeister. They were up for the task and within a month I had a prototype piece in my hands and now we (Pirates' Lair) are the exclusive source for the MV Throttlemeister. Cool, huh? ..These should fit all model year MV F4's as well as the 1000CC 2004 version. Here's my humble How-To... and BTW.. It makes all the difference in the world... Note: The MV Throttlemeister is an excusive offering of Pirates' Lair Motorcycle Accessories |
| Parts/Materials
Needed: (1) MV Agusta F4 Throttlemeister™ Kit exclusively from Pirates' Lair ($150) (1) Hex wrench/key set (1) Dremel tool or sandpaper block (1) 1 beer (Imported only) (1) Bottle Loctite (blue grade) |
|
|
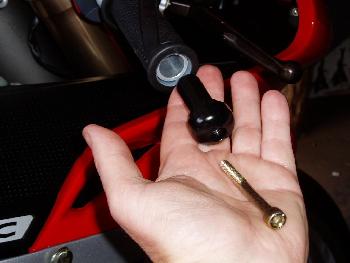
Step #1: Removing Factory Bar Ends First step
is removing both the factory bar ends.. It doesn't get any easier.. With
a hex wrench, unscrew the hex bolts on the ends..They both remove the
same way. Do NOT completely remove the bolt,
but rather unscrew it about 1/2-3/4 way out.. the bar end should slide
out at this point, but there is a rubber inner sleeve that we have to
remove as well. When the bar end slides in and out and with the screw
still treaded inside the nut inside the bar.. PULL the entire mechanism
out... you will pull the rubber inner sleeve out as well. It may seem
stuck.. or not, but this rubber piece must come out. FYI.. the rubber
piece is the part that this screw is actually screwed into... Did that
make since? |
 |
|
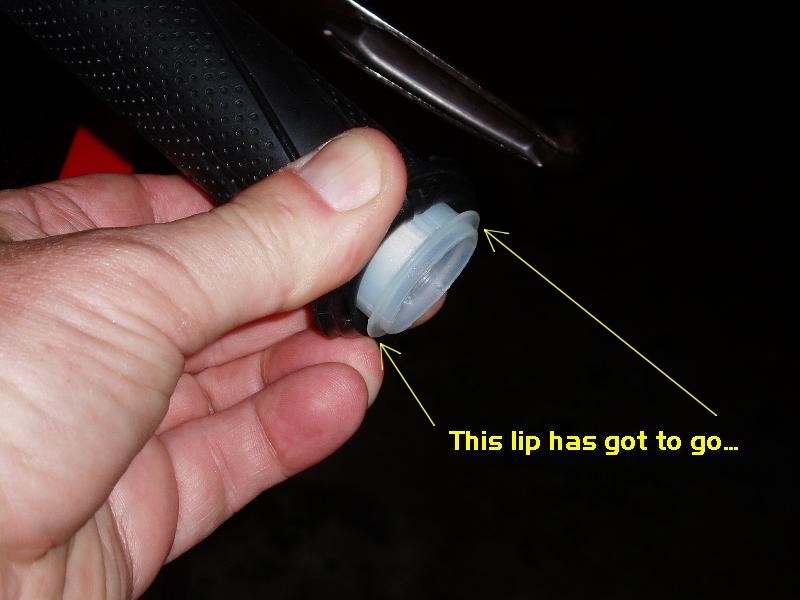
Step
#2: Throttle
Grip Mod: In
Theory...2 Methods.. Your
Choice Time now for a beer and a little introspection before we fire up the power tools. |
 |
|
Initial Trimming of Material: With my painted parts and vitals covered with a towel and my safety goggles on, I chose to start with my trusty Dremel tool and a fine grain sanding wheel. The word here is.. S L O W... I took off enough where I could just feel a rise at the end. If you don't have a Dremel.. what's your fucking prob....er.. I mean.. I'm sure with a steady hand and some sandpaper you can probably achieve the same results... Some time later, make a note to your wife/girlfriend/geisha to buy you a freakin Dremel at Christmas. geez.. I couldn't live without mine. |
 |
|
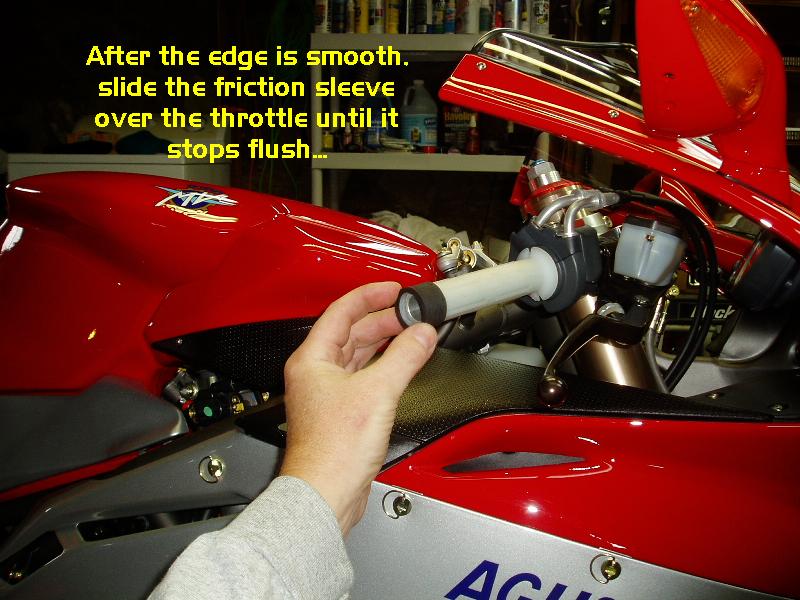
Smoothing the Edges: To finish this task I installed a fine grade sanding wheel of smaller diameter. Takes just a few seconds of lightly going around the edges to give me the smooth surface necessary to slide the "friction sleeve" on .. Hmm that sounded kinda sexual.. or is it just me?
|
 |
|
Installing the Friction Sleeve: If you've done the trimming correctly (and this ain't brain surgery, folkes) the friction sleeve should slide perfectly into place and stop..Your rubber grip should drop right over it.. in theory. Note: I removed my factory grips prior to this install as I chose to install some foam-type Superbike grips and this looked like a good time. Have always liked the feel as they dampen vibration like none other on the market and afford me longer in the saddle without hand numbing. These are perfect for street riding.. NOT good for the track. .. and cheap at only $7 a pair. |
 |
|
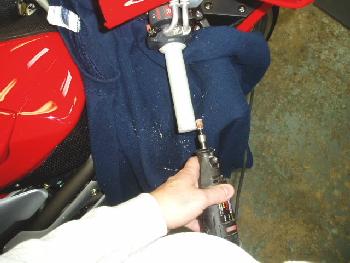
Installing the Throttlemeister: Final step. Grip
and friction sleeve are in place. Thise may or may not require a little
trial and error.
|
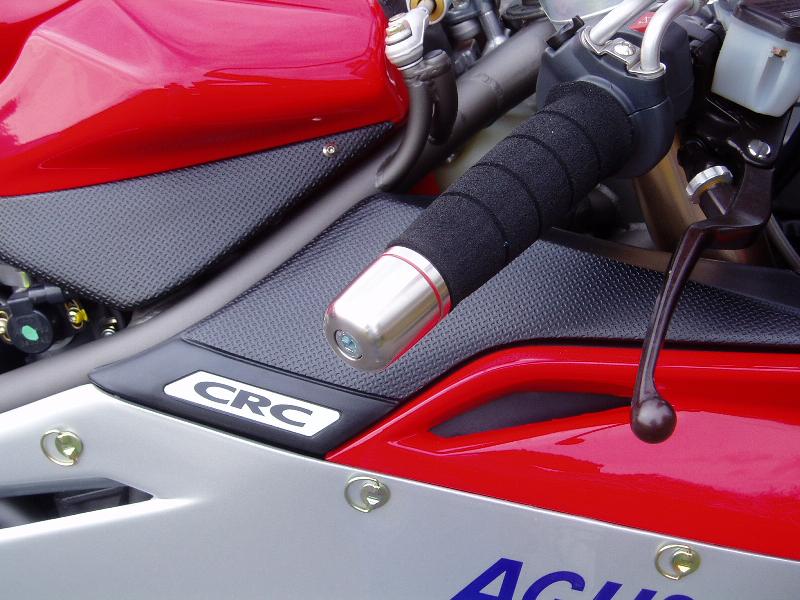 |
| Warning/Notice: You should NOT lube the inside of the throttle sleeve prior to Throttlemeister install. If there is ANY slip inside there... the Throttlemeister will NOT install properly.. Bottom line.. just keep BOTH the Throttlemeister O-Rings AND the inside of the housing free of anything that can cause slip.... WD-40, Astroglide, etc... |
 B A C K |